In the modern classroom, technology plays a vital role in connecting students, parents, and teachers. Elida Schoology, is the central hub for the connection for families in Elida Local Schools. This powerful learning management system (LMS) streamlines communication, organizes assignments, and provides a clear window into your child’s academic life. This guide will walk you through everything you need to know about Elida Schoology, from logging in for the first time to mastering its most useful features. We’ll explore how to track grades, communicate with teachers, and support your student’s learning journey effectively.
Table of Contents
What is Elida Schoology?
Elida Schoology is an online platform that Elida Local Schools uses to create a unified and engaging learning environment. Think of it as a digital extension of the classroom. It provides a single, secure place for teachers to post assignments, share resources, administer tests, and communicate with students and parents. For students, it’s where they find their coursework, submit homework, and collaborate with peers. For parents, Elida Schoology is an invaluable tool for staying informed and involved in their child’s education.
The Elida Schoology platform’s primary goal is to centralize academic activities, making it easier for everyone to stay on the same page. Instead of juggling multiple websites, email chains, and paper handouts, the entire school community can rely on this one system. This integration is crucial for fostering a collaborative educational experience.
Key Benefits of Elida Schoology
Using a unified LMS like Elida Schoology offers numerous advantages for the entire school district community.
- Centralized Communication: Keeps all school-related announcements, messages, and updates in one organized location.
- Enhanced Parent Involvement: Provides parents with real-time access to their child’s grades, assignments, and classroom activities, enabling them to offer timely support.
- Improved Student Organization: Helps students manage their workload by providing a clear calendar of due dates and a to-do list for all their classes.
- Access to Resources: Teachers can upload a wide range of materials, including documents, videos, and links, which students can access anytime, anywhere.
- Streamlined Workflow: Simplifies the process of submitting assignments and receiving feedback, creating a more efficient learning cycle.
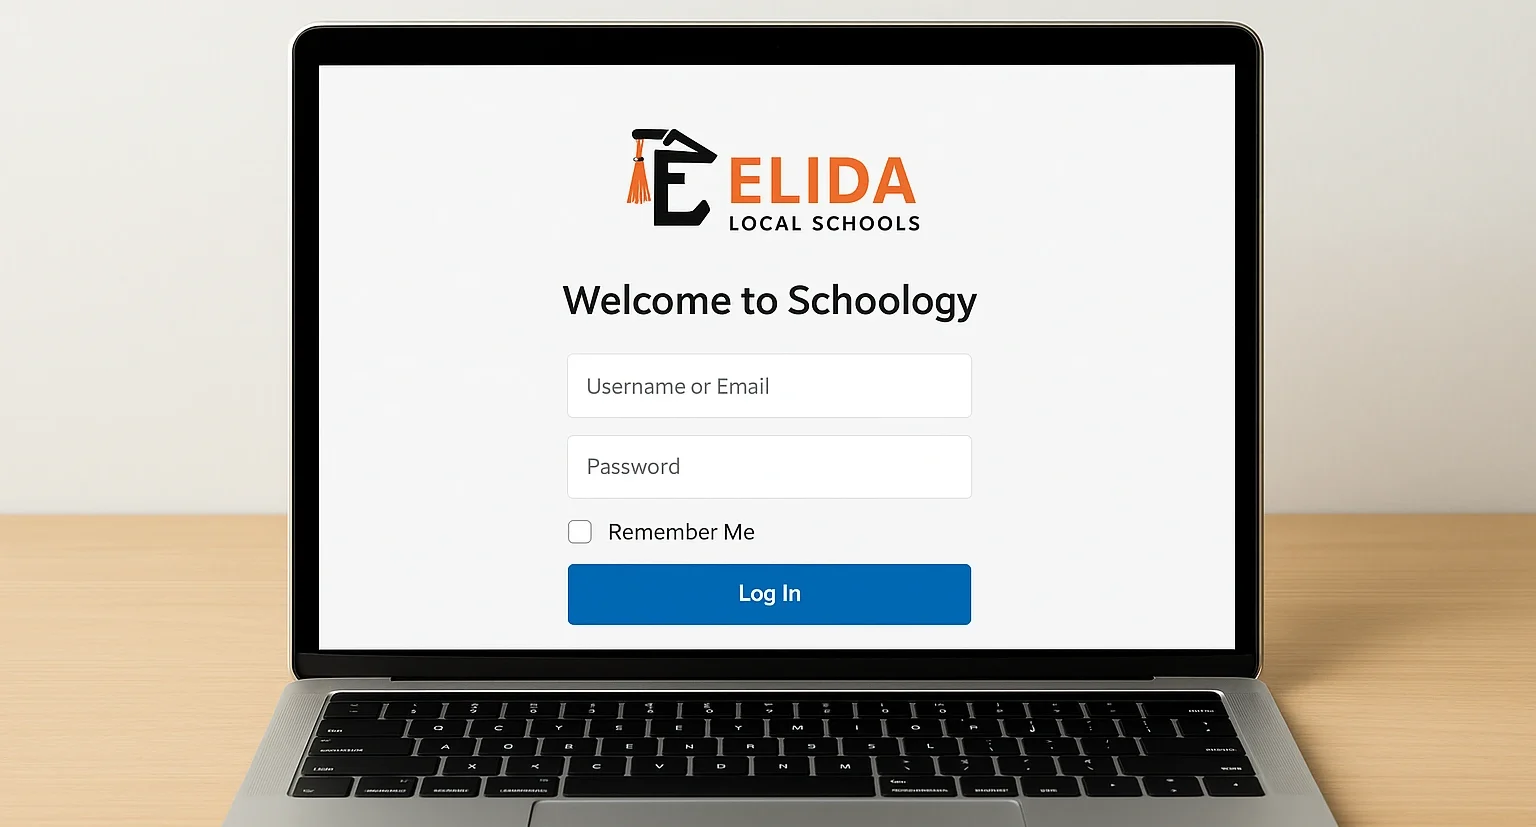
Getting Started: Your Elida Schoology Parent Account
Accessing the system is the first step to becoming an active participant in your child’s education. Elida Local Schools provides each parent with a unique access code to create an account linked to their student(s).
How to Create Your Parent Account
If you haven’t set up your account yet, follow these simple steps. You will need a Parent Access Code, which is a 12-digit code provided by your child’s school. If you do not have this code, please contact your school’s main office.
- Navigate to the Schoology Website: Open your web browser and go to
www.schoology.com. - Sign Up: In the top-right corner of the page, click on the Sign Up button and select Parent.
- Enter Your Access Code: A pop-up window will appear asking for your access code. Enter the 12-digit code you received from the school and click Continue.
- Fill in Your Information: You will be prompted to enter your name, email address, and create a password.
- Complete Registration: Once you’ve filled out the form, click Register to complete the process. You will now be logged into your Elida Schoology parent account.
Linking Multiple Students to One Account
If you have more than one child in Elida Local Schools, you can link them all to your single parent account. You will need a separate Parent Access Code for each child.
- Log in to your existing Schoology parent account.
- Click the down arrow in the top-right corner of the screen and select Add Child.
- Enter the 12-digit Parent Access Code for your other child.
- Click Use Code.
You can now toggle between your children’s profiles by clicking the down arrow in the top-right and selecting the child’s name you wish to view.
Mastering the Elida Schoology Dashboard
Once you log in, you will land on your Parent Dashboard. This is your command center for viewing your child’s academic life. Let’s break down the key features.
Switching Between Parent and Student Views
A crucial feature to understand is the ability to switch between your own account view and your child’s activity view.
- Your Account (Parent View): When you first log in, you are in your own account. This is where you can see recent activity from all your linked children, manage your account settings, and access your messages.
- Student Activity View: To see a specific child’s courses and activities, click on your name in the top-right corner and select your child’s name from the drop-down menu. The top banner will turn green and display a message “You are viewing as [Student’s Name]”. This view mimics what your student sees, giving you a direct look at their courses, assignments, and calendars.
Key Navigation Elements
Understanding the main menu will help you find what you need quickly.
| Menu Item | Description |
|---|---|
| Courses | View a list of all courses your child is enrolled in. Clicking on a course takes you to its main page. |
| Groups | Access any school or class groups your child is a part of for extracurriculars or special projects. |
| Grades | See a grade report for all courses. You can view overall grades, graded assignments, tests, and discussions. |
| Calendar | A comprehensive calendar that combines events and due dates from all of your child’s courses, groups, and the school. |
| Messages | The envelope icon allows you to send and receive private messages with your child’s teachers. |
| Notifications | The bell icon alerts you to important updates, such as a new grade being posted or a school announcement. |
A Deep Dive into Key Features
Let’s explore how to use the most important features of Schoology Elida to support your student’s success, especially at the middle school level where organization becomes critical.
Monitoring Grades and Assignments
One of the most powerful features for parents is the ability to monitor academic progress in real time.
To view grades:
- Switch to the Student Activity View for your child.
- Click Grades in the top menu.
- You will see a list of courses with the current overall grade.
- Click on a specific course to see a detailed breakdown of all assignments, quizzes, and tests for that class. You can view scores, see if an assignment is missing, and read teacher comments.
This feature is particularly useful for students at Elida Middle School Schoology, as it helps them develop responsibility for their work while allowing parents to provide support when they see a student is falling behind.
Using the Calendar to Stay Organized
The calendar is your best friend for keeping track of everything. It automatically populates with due dates for assignments and tests entered by teachers.
- Color-Coding: Each course has a unique color, making it easy to distinguish assignments at a glance.
- Upcoming Events: The right-hand column of the dashboard shows a list of upcoming due dates, providing a quick snapshot of what’s next.
- Filtering: You can filter the calendar to show events for a specific course or even just school-wide events.
Encourage your student to check their Schoology calendar daily. This practice builds essential time management skills and reduces the stress of last-minute work.
Communicating with Teachers
Clear and easy communication is a cornerstone of the Elida Local Schools Schoology experience. The messaging feature allows you to contact teachers directly.
- Click the envelope icon in the top menu.
- Click New Message.
- In the “To” field, start typing the teacher’s name. They will appear in a drop-down list.
- Enter a subject and write your message.
- Click Send.
This is the preferred method for asking questions about assignments, grades, or your child’s progress. It keeps all communication documented and in one place.
Tips for Parents to Maximize Schoology
To get the most out of the platform, integrate it into your family’s routine.
- Set Up Notifications: Customize your notification settings to receive email or text alerts for key events, such as when a grade is posted, an assignment is overdue, or a school-wide announcement is made. You can find this under Settings > Notifications.
- Schedule Regular Check-ins: Set aside time each week—perhaps Sunday evening—to review the upcoming week’s assignments and past week’s grades with your child. This opens a dialogue about their workload and any challenges they may be facing.
- Use the Mobile App: Schoology offers a mobile app for both iOS and Android. It provides convenient access to all the key features, making it easy to stay informed on the go.
- Focus on Support, Not Surveillance: Use Schoology as a tool to support your child, not to micromanage them. The goal is to empower them to take ownership of their learning. Use the information you find to start conversations, like “I saw you have a big history project due next week. How’s it going?”
Frequently Asked Questions (FAQ) about Elida Schoology
Here are answers to some common questions parents have about using the platform Elida Schoology.
1. I forgot my Elida Schoology password. How do I reset it?
On the Schoology login page, click the “Forgot your password?” link. Enter the email address associated with your parent account, and you will receive an email with instructions on how to reset it.
2. Why can’t I see my child’s assignments?
First, ensure you are in the “Student Activity View” by selecting your child’s name from the drop-down menu in the top-right corner. If you are in the correct view and still can’t see assignments, navigate to the specific course and check the “Materials” section. If you still have trouble, contact the teacher directly.
3. What is the difference between the “Recent Activity” feed and the “Upcoming” list?
The “Recent Activity” feed on your main dashboard shows a chronological list of posts, updates, and submissions from all of your child’s courses and groups. The “Upcoming” list on the right side is a more focused view that only shows items with a due date, such as assignments, tests, and events.
4. How do I know if my child has submitted an assignment?
In the “Grades” section for a particular course, you can see the status of each assignment. An icon will indicate whether it was submitted on time or late. If no assignment was submitted, it might be marked as “Missing.”
5. Can I see the actual content of my child’s submitted work?
In many cases, yes. When viewing a graded assignment, you can often click on the submission itself to see the document or file your child uploaded, along with any comments or annotations from the teacher.
6. The grade in Elida Schoology is different from the official report card. Why?
Schoology provides a real-time, ongoing look at your child’s grades as assignments are entered by the teacher. The official report card grade is a final, cumulative grade calculated at the end of a grading period. Grades in Schoology can change frequently as new scores are added. For any major discrepancies, contact the teacher.
7. I have a technical problem with Schoology. Who should I contact?
For issues related to your account, access codes, or general navigation, your first point of contact should be your child’s school office or the district’s technology department. For questions about course content, grades, or assignments, always contact the specific teacher first.
Leave a Reply